Millwaukee
PH-80 Digital Pen
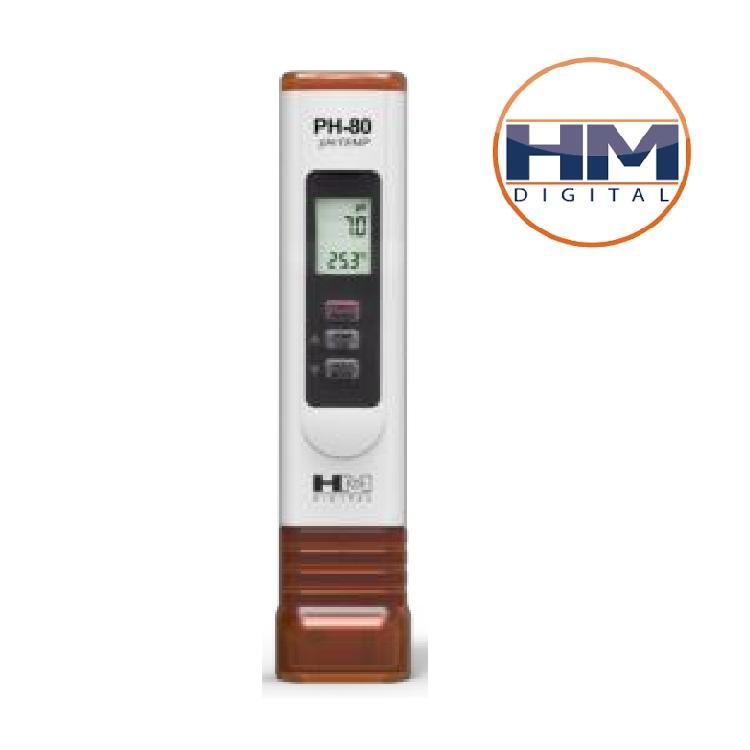
PH-80 Digital Pen
Couldn't load pickup availability
H&M PH-80 has proven to be the
MOST reliable pH meter , Hydroponics, Nutrient solutions.
H&M PH-80 Digital Pen
Description
PH-80 Digital Pen has proven to be the MOST reliable pH meter in its price range. It has become a favorite in such applications as hydroponics & gardening, pools & spas, aquariums & reef tanks, water ionizers, drinking water and more.
Features
- Measures pH and Temperature
- One-touch automatic digital calibration
- Water resistant
- Simultaneous temperature display
- Large LCD display
- Automatic Temperature Compensation (ATC)
- Auto-off function, data-hold function and low-battery indicator
- Factory Calibrated: The PH-80 meter is factory calibration to pH 7.0.
- Includes a translucent cap, batteries, storage solution and pH 7.0 buffer (powder)
PH-80 Digital Pen Specifications
- pH Range: 0 – 14
- Temperature Range: 1-55 °C; 32-130 °F
- Resolution: 0.1 pH; Temperature resolution is 0.1 °C/F
- Accuracy: +/- 0.2 pH; Temperature accuracy is +/-2%
- Calibration: Digital automatic calibration (one point)
- Minimum EC/TDS: 10 µS/5 ppm
- Electrode: Glass sensor and reference tube electrodes
- Power source: 3 x 1.5V button cell batteries (model LR44 or equivalent; included)
- Dimensions: 15.3 x 3.2 x 1.8 cm (6.0 x 1.3 x 0.7 inches)
- Weight: 53.9 g (1.9 oz)
How to calibrate a HM product? (PH-80)
1. Turn the meter on and insert into the solution.
2. Press and hold the CAL button for 10 seconds.
3. Select your desired calibration level by clicking the UP or DOWN buttons. When the number matches the solution, click ENTER.
4. ‘CAL’ will flash as ‘C-CA-CAL’ indicating progress. Allow 5 – 60 seconds, do not press any buttons, and if possible, do not move the meter.
How to replace battery in a HM product? (PH-80)
1. Pull out the orange battery compartment using your thumb nail.
2. Remove three batteries.
3. Insert new batteries(LR44 / 1.5V) in the direction as depicted inside the compartment. The flat side of the battery is the positive(+) side.
4. Close the battery compartment. Make sure it is tightly closed.